


By Katie Workman
Make 6 apples
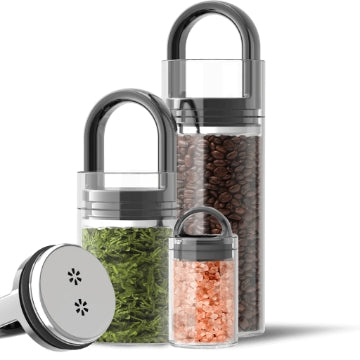
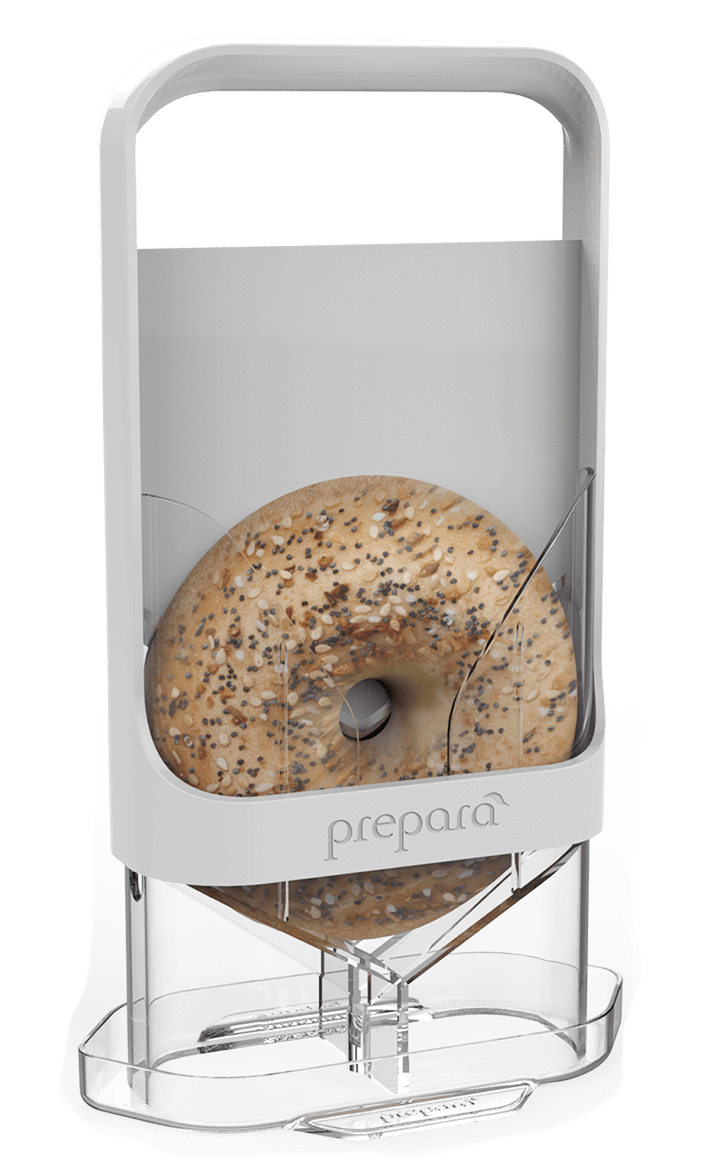
This year Halloween may look a little different, and we may have to make more of our own fun at home! Homemade caramel apples are surprisingly easy to make, and purely joyful. Your kids can help, with your supervision; make sure they don’t touch the hot caramel. They can help choose difference toppings (think black and orange sprinkles or jimmies, crushed chocolate wafers, granola, shredded coconut). And they can dip the coated apples into the toppings of their choice. The Prepara Three Section Tray is perfect for this! Also perfect for serving the finished apples.
Another fun extra is to take fruit leather and cut it into festive holiday shapes. Pumpkins or ghosts are pretty forgiving, and then you can stick those fruity pieces right onto the caramel apples for extra Halloween flair. Or buy edible googly eye candies and stick them onto the apples as soon as they are almost cool. Putting the finished dipped apples in Halloween-themed paper cupcake liners also adds a little more holiday flair.
Wrap up any extras in clear cellophane, tie them with a piece of string, and share with your neighbors! This recipe multiplies easily. Just rewarm the caramel in the Prepara Butter Warmer or the double boiler as directed below if it starts to thicken up (see Step 6).

6 small apples, washed
1 (14-ounce) package caramels, unwrapped
2 tablespoons heavy cream
6 wooden popsicle sticks
For Decorating the Apples (pick and choose):
Sprinkles
Crushed cookies, such as chocolate wafers or graham crackers
Granola
Crushed nuts
Crushed candy, such as toffee or Halloween-colored candy canes
Shredded coconut
Crushed pretzels
- Line a baking sheet with parchment or wax paper. Twist the stem from each of the apples and insert a popsicle stick in the top of each apple, sticking it halfway up the apple for stability.
- Place the desired toppings in separate bowls or containers large enough for the apples to fit inside (the Prepara Three Section Tray is perfect for this!)
- Using the Prepara Butter Warmer you can easily heat up your caramel. If you have a double boiler, set that up with water in the bottom. If not, grab a skillet and a saucepan smaller than the width of the skillet by a few inches. Place the saucepan in the skillet and fill the skillet with water to come up about ½ inch up the sides of the saucepan nestled inside. Place the caramels and the cream in the top pan of the double boiler, or the saucepan in the skillet. Heat over medium heat, stirring often, until the caramels are melted and smooth.
- Transfer the melted caramel to a heatproof surface. Dip each apple, one at a time, into the hot caramel. You may choose to coat just the bottom half, or turn the apple to coat it all around with the caramel. Lift the apple up and twirl it gently to allow excess caramel to drip back into the pan.
- Dip the apple into the toppings of your choice. You may use more than one topping for each apple; you do do this by leaning different sides of the coated apple into different toppings, or you can sprinkle some of the toppings over the apple, holding the apple over the toppings in their container.
- If the caramel starts to firm up before you have dipped all of the apples, return it to the heat over simmering water, and stir frequently until it is liquidy again or simply reheat in the Prepara Butter Warmer. You can also put it in the microwave and heat it for 15-second bursts, stirring in between each 15-second increment.
- Place the decorated apples on the lined baking sheet, transfer the tray to the fridge, and let cool and set for at least 1 hour. Place in cupcake lines if desired.
